Every smartphone manufacturer is susceptible to defects, but after dropping a good chunk of change on a shiny new device, we as consumers have little tolerance for such issues. We want our gadgets to be perfect in every regard, so even the tiniest flaw is irksome.
One of the most common manufacturing defects is a random pixel or two that refuses to light up—something that's already been seen on new HTC One M9s, Samsung Galaxy S6s, and iPhone 6s. These are colloquially known as dead pixels, and are usually covered by warranty if you catch them in time.
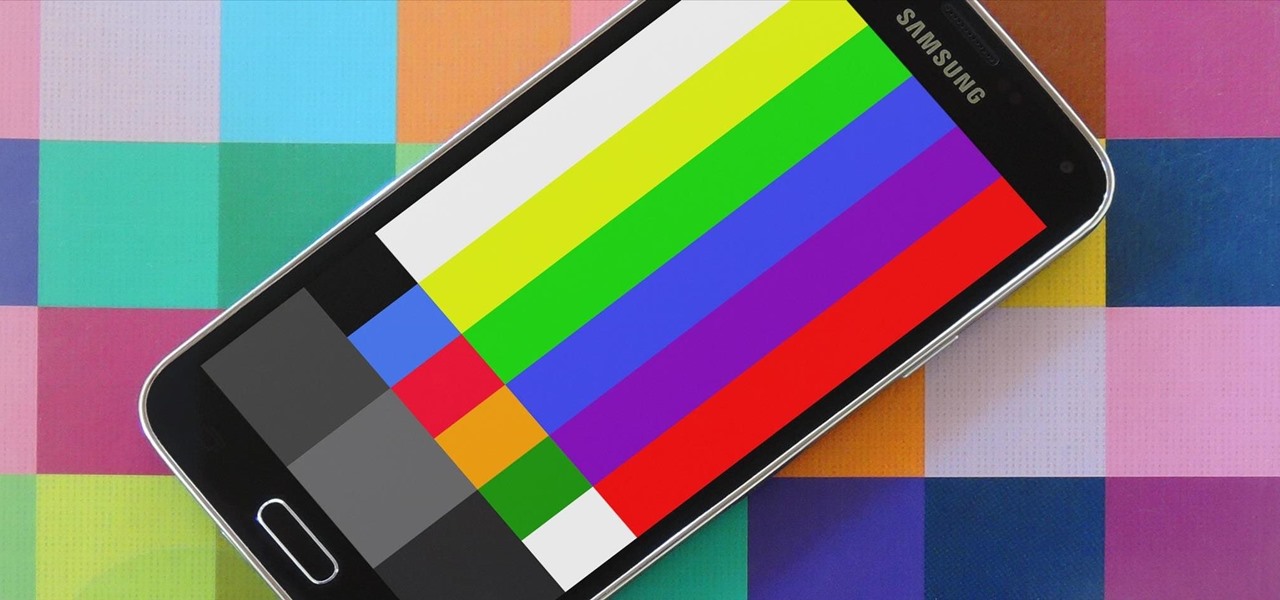
Trouble is, display resolutions are getting higher by the generation, so it can be incredibly hard to spot a dead pixel. But with full-screen images of solid color, they become much easier to detect. Below, I've attached a set of images that should make it easy to find a dead pixel, and I'll outline the process in more detail after the jump.
Step 1: Download or View the Following Images
For most smartphone displays, each pixel is comprised of 3 separate sub-pixels—one red, one green, and one blue. Combining these three colors in various ratios yields a wide array of colors, and when all three sub-pixels are lit up, the resulting color is white.
So if you have an entirely dead pixel, it would be easy to recognize as it would simply be black. But if one or two sub-pixels have failed, the pixel will only be off-colored. This is why it's a good idea to check for dead pixels against an array of colors.
I've attached 6 images of varying solid colors in the two galleries below, and each is in a 16:9 aspect ratio, which will fill the entire screen on most smartphones. The images are 1440p resolution, so they're dense enough to fill out every single pixel on most smartphones.


You can view these images directly in your smartphone's browser, or you can save them to your device if you'd prefer. Just make sure that your gallery app or internet browser is in full screen mode (if possible) so that no pixel is left unlit.


Step 2: Inspect Your Display
While viewing each of these images, keep an eye out for any tiny black dots. If you find such a dot, this is likely due to to a fully-dead pixel. On the other hand, if a pixel looks discolored or you see a grayish dot, you may have one or more faulty sub-pixels.
For most manufacturers, a display with any dead pixels is covered under warranty, and warranties generally last for a year. So if you detect a dead pixel, contact your device's manufacturer to inform them of the issue. If you have an iPhone, they're generally pretty good about swapping them out no questions asked.
Did Your Device Have Any Dead Pixels?
Let us know what you found and which device you're using in the comment section below, or drop us a line on Facebook, Google+, or Twitter.
Just updated your iPhone? You'll find new emoji, enhanced security, podcast transcripts, Apple Cash virtual numbers, and other useful features. There are even new additions hidden within Safari. Find out what's new and changed on your iPhone with the iOS 17.4 update.






















3 Comments
(Samsung Galaxy S6 Edge) I don't have a dead pixel, but i think i have a burned one. it looks like a small opaque house on the left bottom of my screen. Any ideas?
That does sound like screen burn-in. The best way to get rid of that is to display the same icon (the one that got burned into your screen in the first place) at full brightness for several hours, but with the "Invert Colors" options enabled in Settings->Accessibility. Here's an app that makes this process a little easier:
AMOLED Burn-in Fixer
I created a petition about the oblige manufacturers to control of the absence of dead pixels. Sign it to buy quality products and not be afraid to get a poor-quality screen.
https://www.change.org/p/asus-oblige-manufacturers-to-control-the-absence-of-dead-pixels
Share Your Thoughts