

There's a lot going for the Samsung Galaxy Note 2—smart screen rotation, huge HD display, great rear camera—which makes it an awesome device for reading, watching videos, and taking pics. But all of those luxuries will end up hogging up your internal memory, which is one of the few things the Note 2 could use some help in.
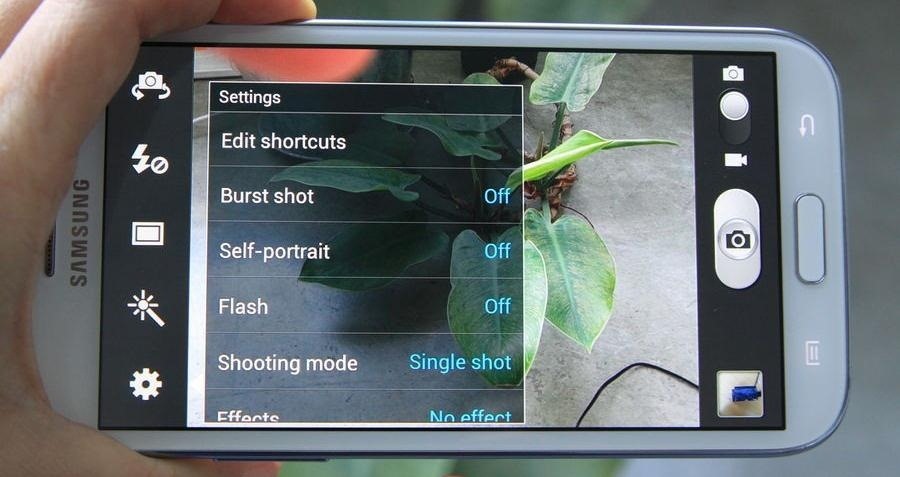
The device comes with 16 to 64 GB of internal storage, depending on your model, with the option of adding a microSD card for more space. Only problem is, everything automatically downloads to your internal storage. If you watch a punch of movies and play tons of games, you could be running into problems soon.
For example, games like 9mm and Modern Warfare 3 use up almost 2 GB of space alone. Add that to all of your pictures and movies and your 16GB of internal will be gone in no time.

But there's a way to better manage your built-in and added memory, thanks to XDA Developer mattiadj. Instead of crying, he developed a mod to switch the external SD card with the internal memory so that the internal was used for app installs and data only.
So, now his 16 GB Note 2 actually has 64 GB of internal memory and 16 GBs of external. Pretty sweet, huh? You can also do this on the Samsung Galaxy S3, as seen in the video below. You will need to be rooted to do this mod.
Here's a quick run-through of the steps for the Note 2. You'll want to make sure to perform a backup before proceeding, because files could be deleted.
- Format external SD card from your PC as fat32 or extfat.
- Copy one of the appropriate .zip file (below) onto you external SD. If you've formatted your SD as fat32, choose the fat32 version. If the filesystem is exfat choose the exfat version.
- Mod file for exfat SD card (custom kernel)
- Mod file for fat32 SD card (custom kernel)
- Mod file for exfat SD card (stock kernel with init.d support)
- Mod file for fat32 SD card (stock kernel with init.d support)
- Go into recovery mode.
- Flash the .zip.
- Reboot.
- DONE.
If this doesn't work for you, try this method:
- Flash the correct mod.
- Install Script Manager from the Google Play Store.
- Open Script Manager, click on browse as root, then click okay.
- Choose the file name 11extsd2internalsd located in /system/etc/init.d and click on Script/Executable.
- Now tap on Su, Boot and Save.
- Reboot your phone and you're done!
For full details and troubleshooting tips, visit the forum threads for the Note 2 and the S3.
Just updated your iPhone? You'll find new emoji, enhanced security, podcast transcripts, Apple Cash virtual numbers, and other useful features. There are even new additions hidden within Safari. Find out what's new and changed on your iPhone with the iOS 17.4 update.


12 Comments
I can't seem to get this to work on my GS3, can anyone help?
So here is my question...
Say I do this mod. I have a rooted phone, it looks easy.
What happens when the next update is pushed to AT&T and it deletes my root? Will my phone suddenly go bezerk because it can't work off the external card?
Also, do I need to copy all my data over to the external card prior to doing this mod or is the data automatically moved over so all my existing apps on my internal drive will suddenly appear on the external?
@ Mike Hoopper
You need to make sure your device is rooted
If you have a rom that supports init.d just flashing the script via custom recovery should suffice. If your rom doesn't you need an app called script manager. So if you read the instructions above what it fails to tell you is that between 3 and 4 you have to go back until you see something called ect and in ect you will find init.d and then go to 4. Hope this helps. Good luck.
I have a stock AT&T rooted phone. The file I selected was Mod file for fat32 SD card (stock kernel with init.d support)
Downloaded the file on my external SD drive
Went into recovery mode by pressing Volume Up, Power and Home.
Selected option to install the update from external storage.
Located the .zip file in the download file and clicked on it.
My Note II tried to update, but kept getting an E:signature failure notice.
Any idea what may be going wrong here?
I am giving up on this.
The E:Signature problem is apparently due to the phone not being properly rooted.
There is a whole mess of things that have to be done including re-rooting the phone which I just don't want to do.
So, at this point, I am just going to let things be.
Just a thought...
Can the file be flashed from the Internal drive instead of external?
ok its 4 months after the question but, heres what i found today, flashing with cwm recovery, 1st be rooted, 2nd if it still gives you the error like mine did turn off (at your own risk) again like i did the signiture verification. Do this in order of the YT clip and good luck. worked for me after toggling verification on sgs3 int GT-I9300.
is this work on i9305 lte ?
yes it works like a charm tnx :)))))
Do I download Odin file And recovery mode or just recovery.
will this process work for my Motorola Moto E? if not plz help me to do same for my Moto E
Thanx in anvance.. :)
Share Your Thoughts