

Ah, the age-old problem of sharing pictures with friends and family. Ten years ago, the best method available to us was passing around duplicate photos printed out at the local drug store. As easy as smartphones have made this act, you'd think we'd be satisfied by now.
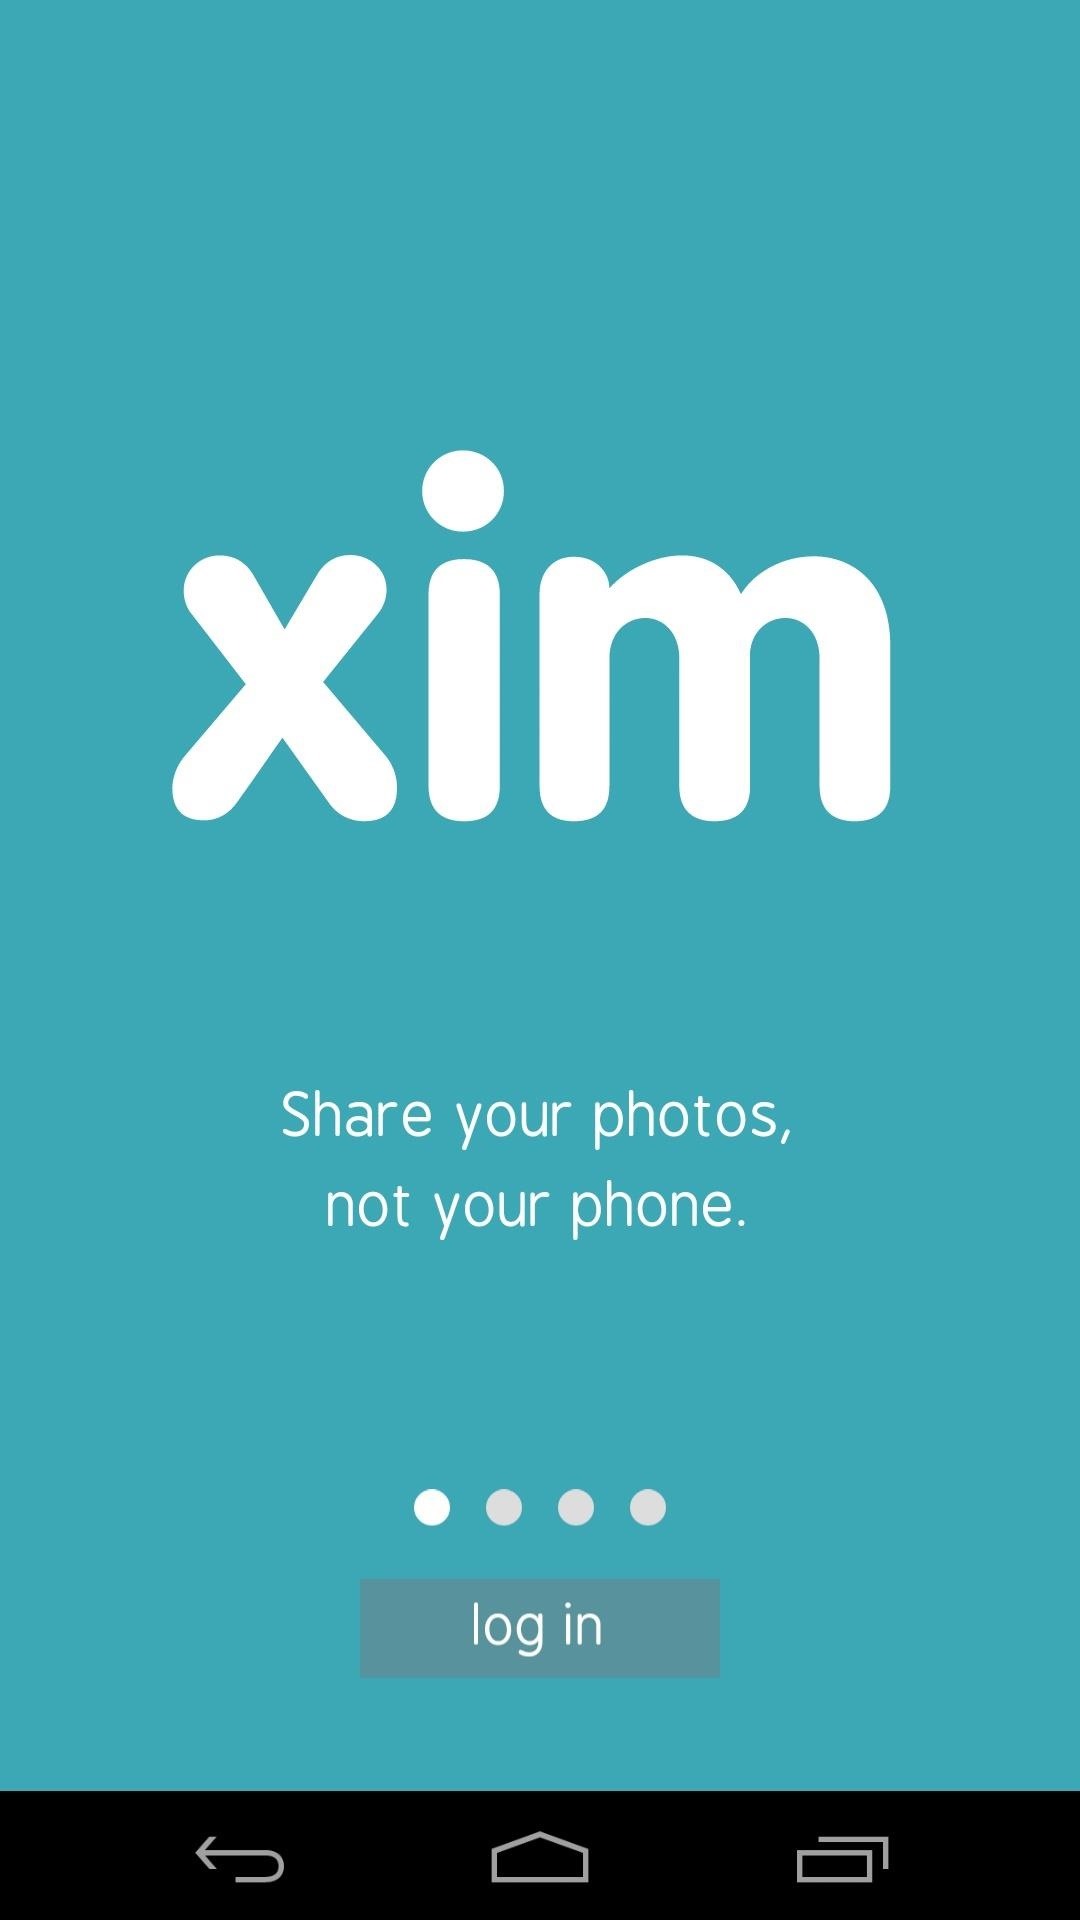
Not Microsoft.
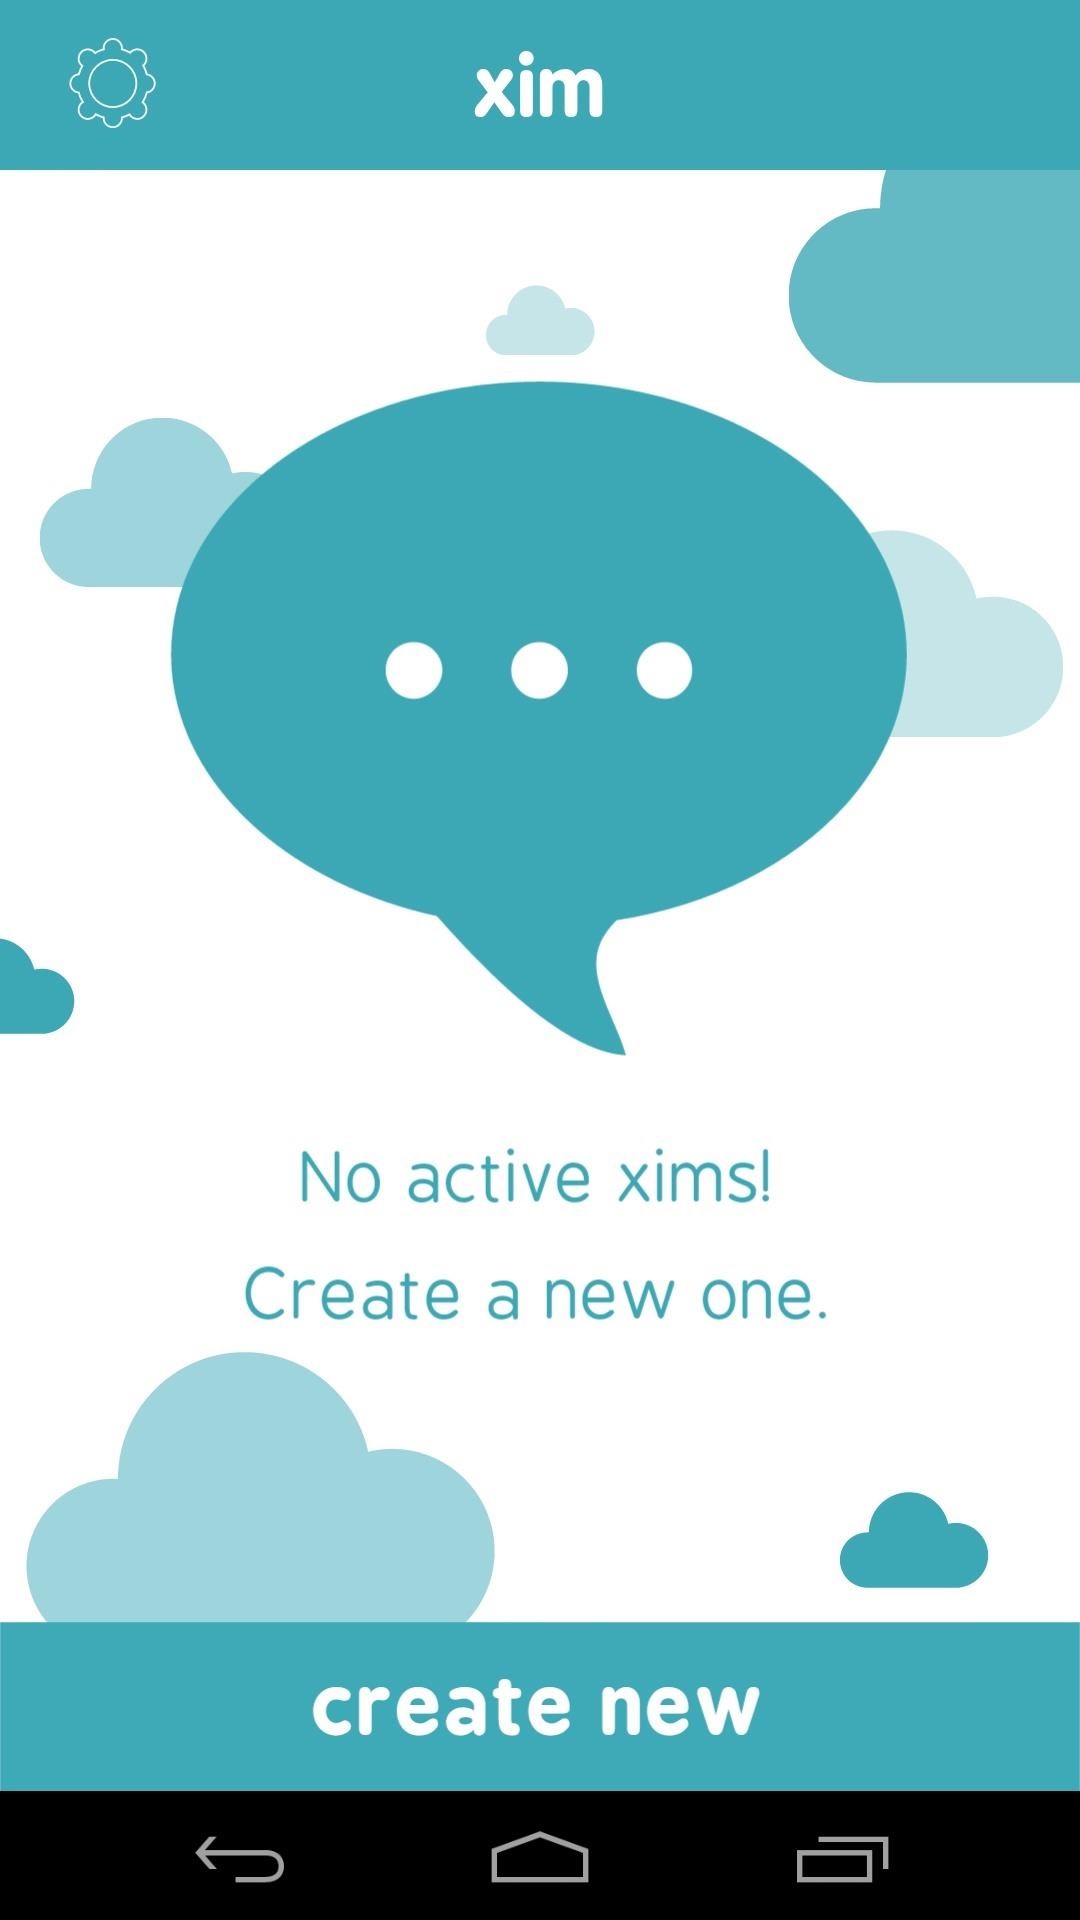
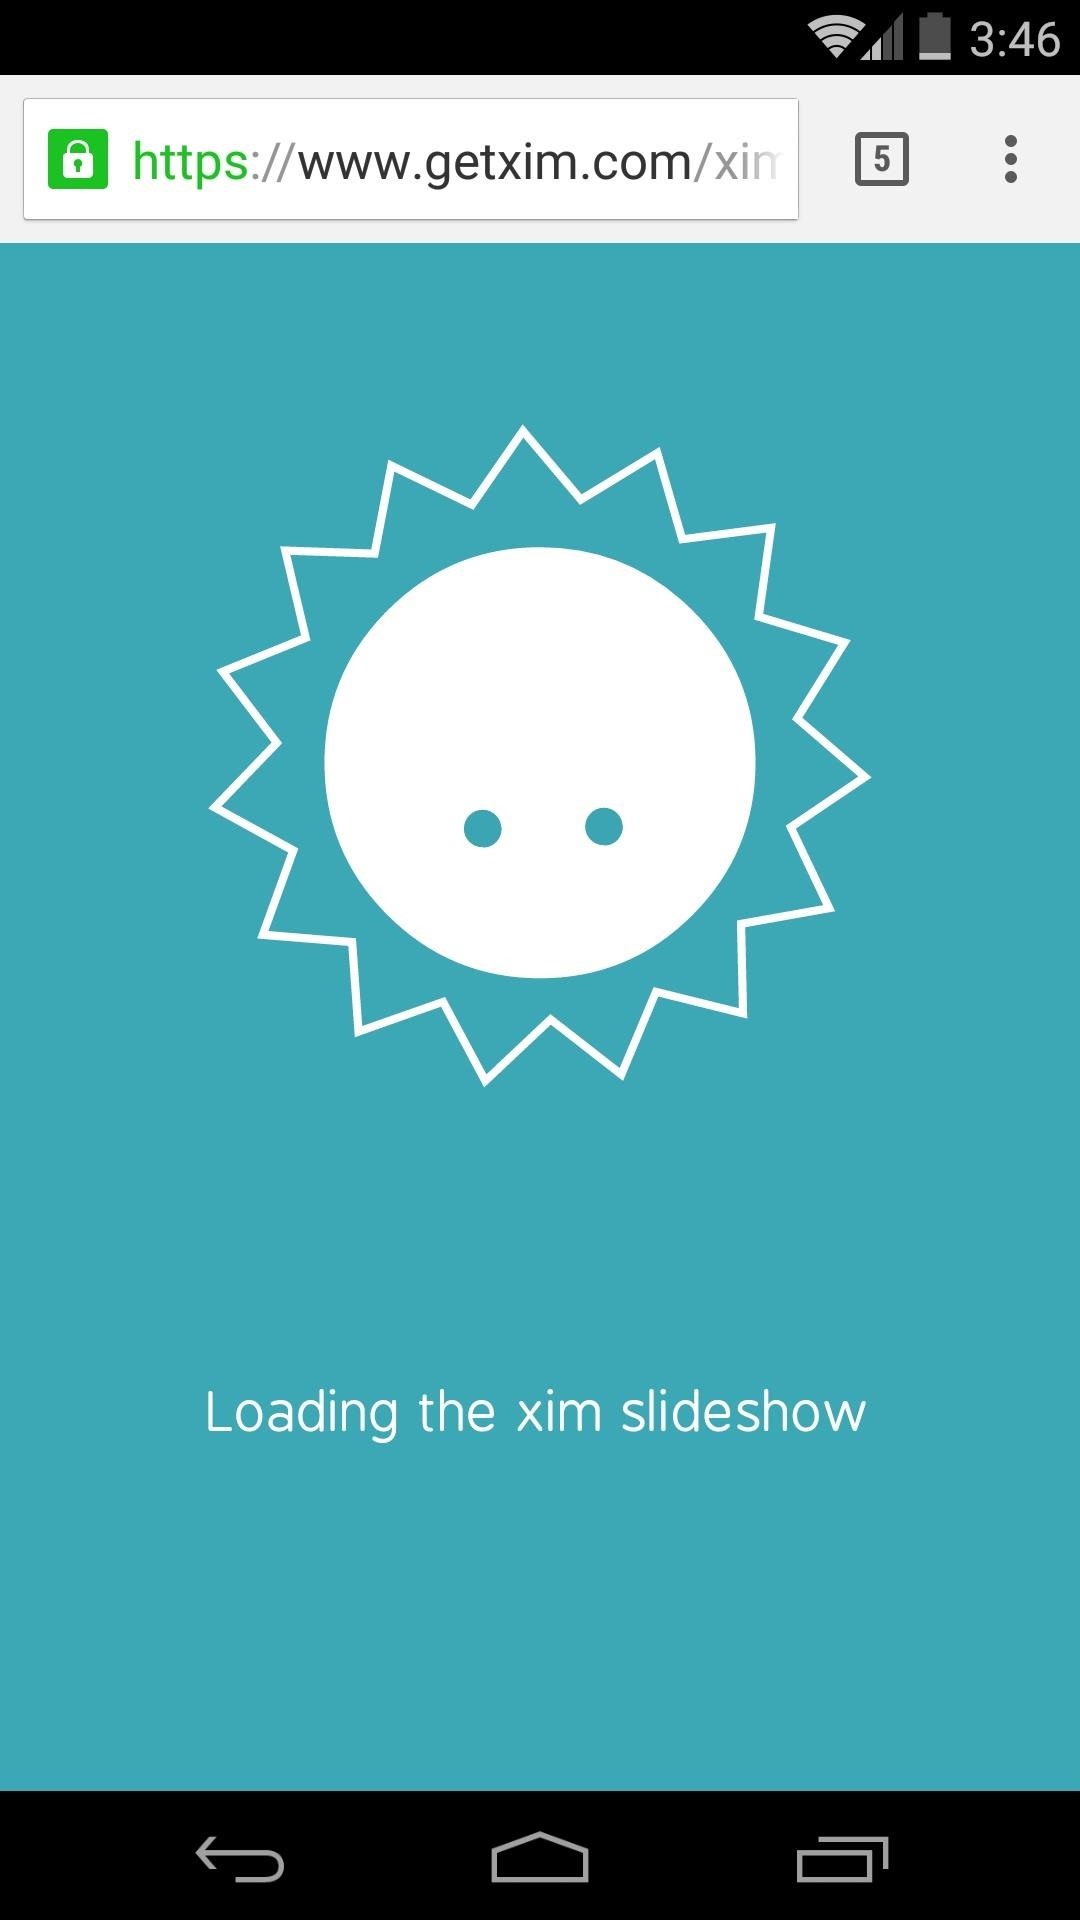
The tech giant's latest app aims to put an end to the need to pass anything around. With Xim , you can simply queue up a group of photos, send out a few invitations, and everyone in the room will be able to interact with the same album on their own devices—at the same time.
Flipping through photos on one device changes the view on the next guy's phone—and the app doesn't even need to be installed on any of the other devices. But, with cross-platform availability, users of Android, iOS, and Windows Phone alike can all join in on the fun.
Step 1: Installing Microsoft Xim
Microsoft's Xim is available on all three major mobile operating systems (at time of writing, the iOS app is "coming soon"). Head to your platform's respective app store to install Xim, or grab it directly from Google Play or the Windows Store.

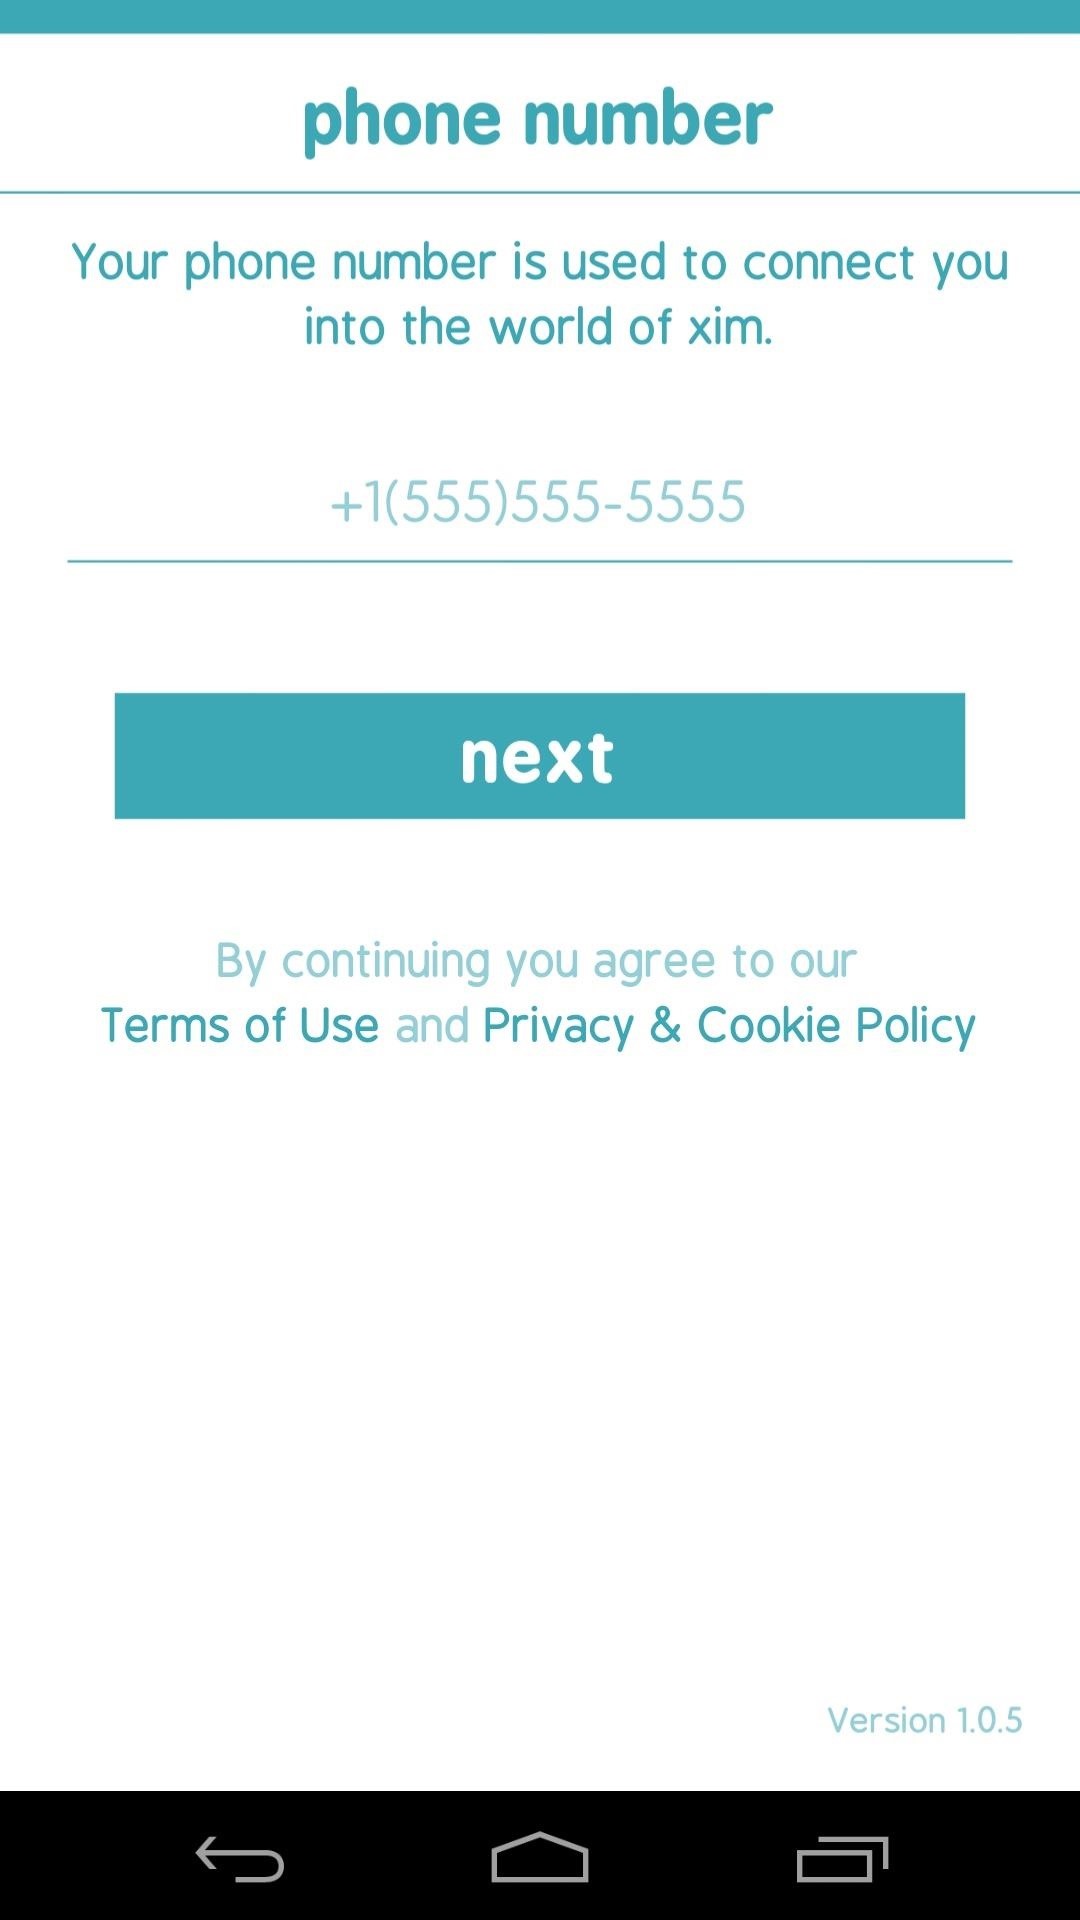
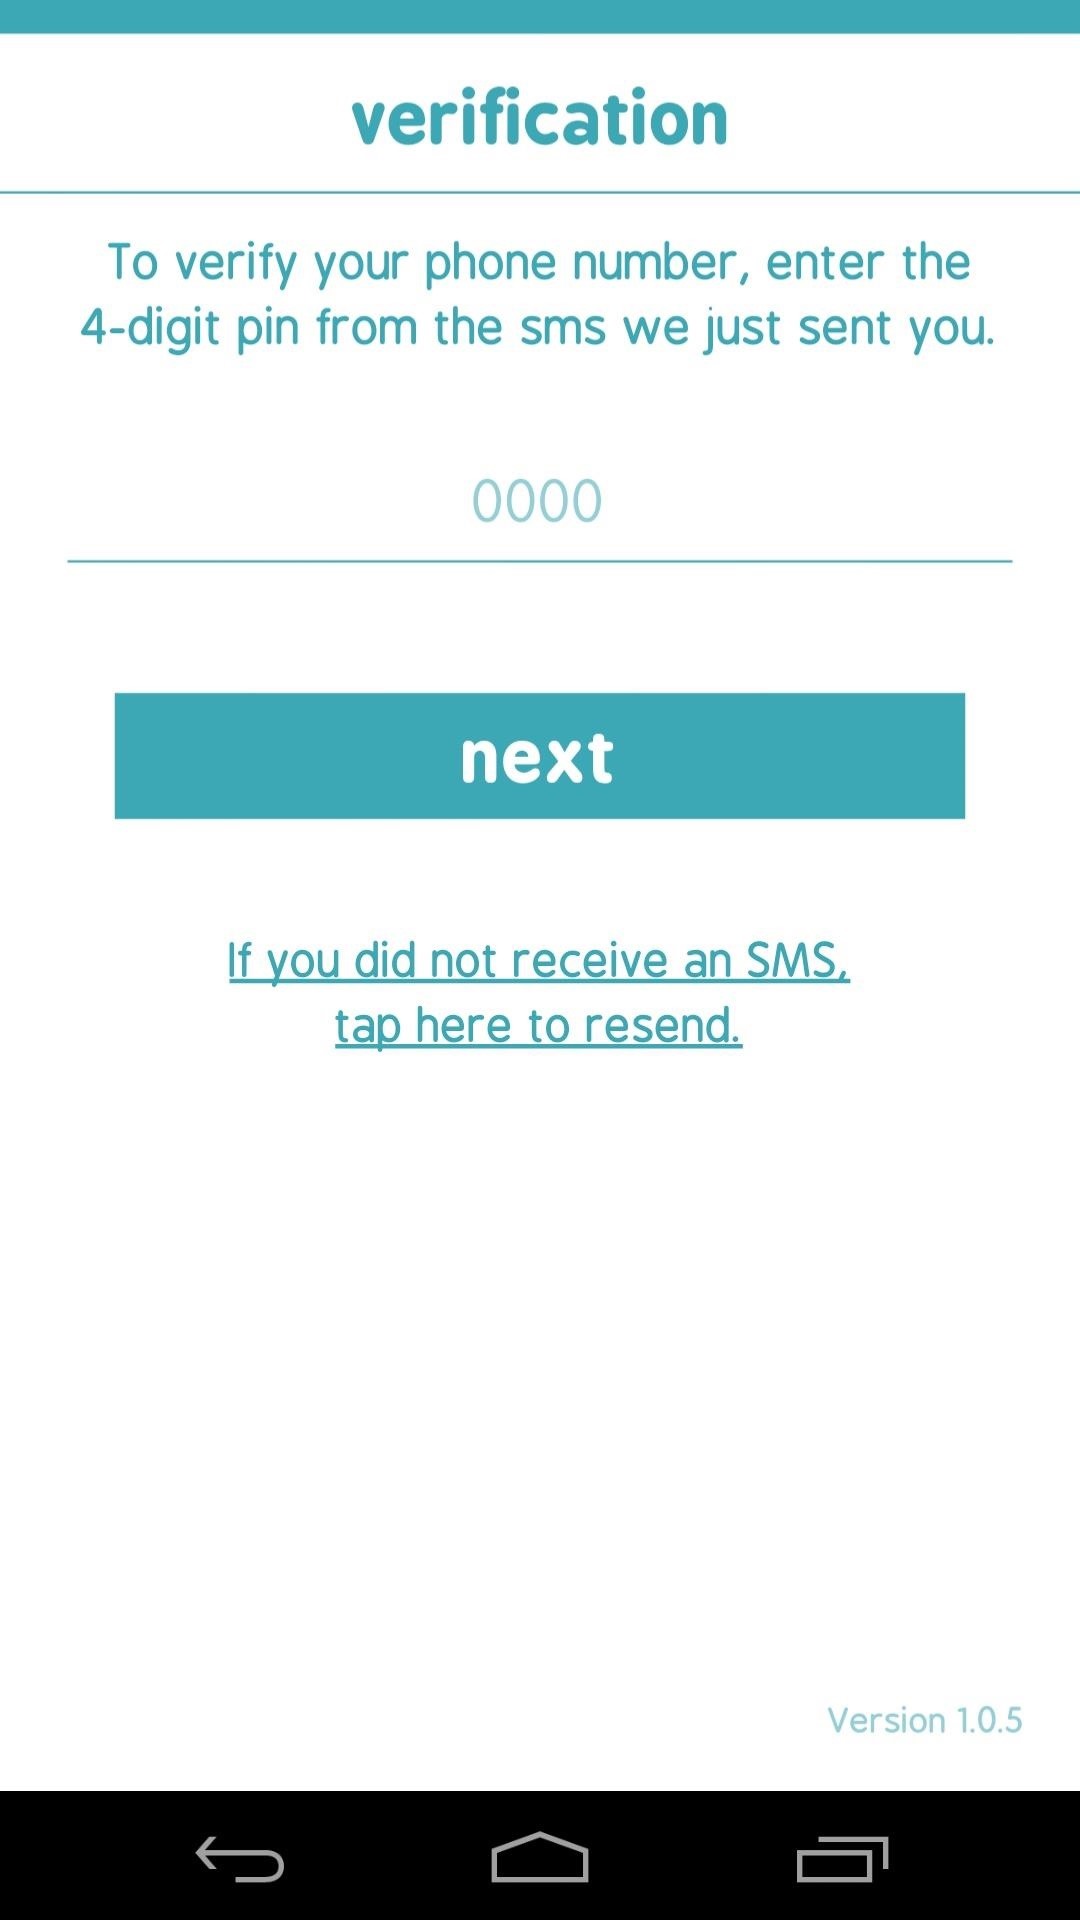
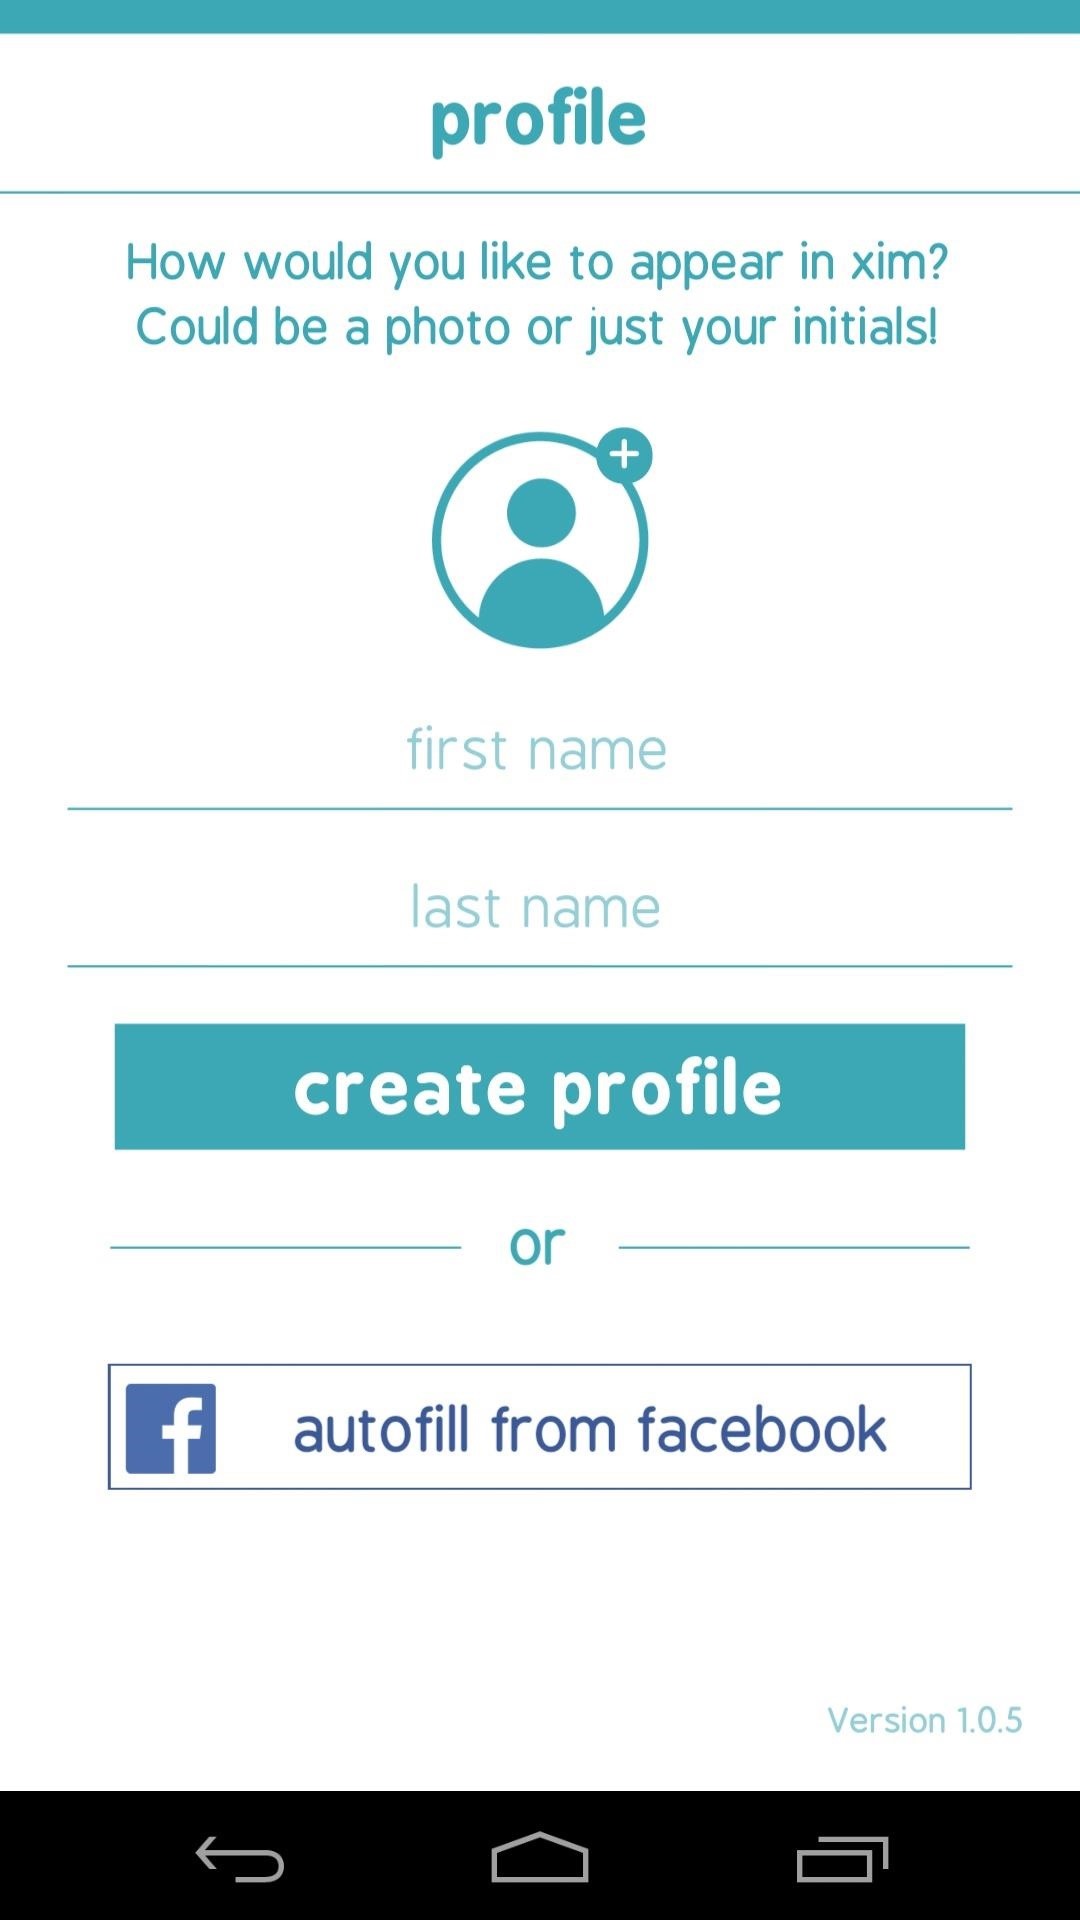
Step 2: Creating an Account
Next up, you'll have to register at least one device. Tap Log In to begin, then enter your phone number.
You'll get an SMS with a verification code within a few seconds, so type that into the next field. After that, provide your full name and hit Create Profile.
Step 3: Sharing Photos
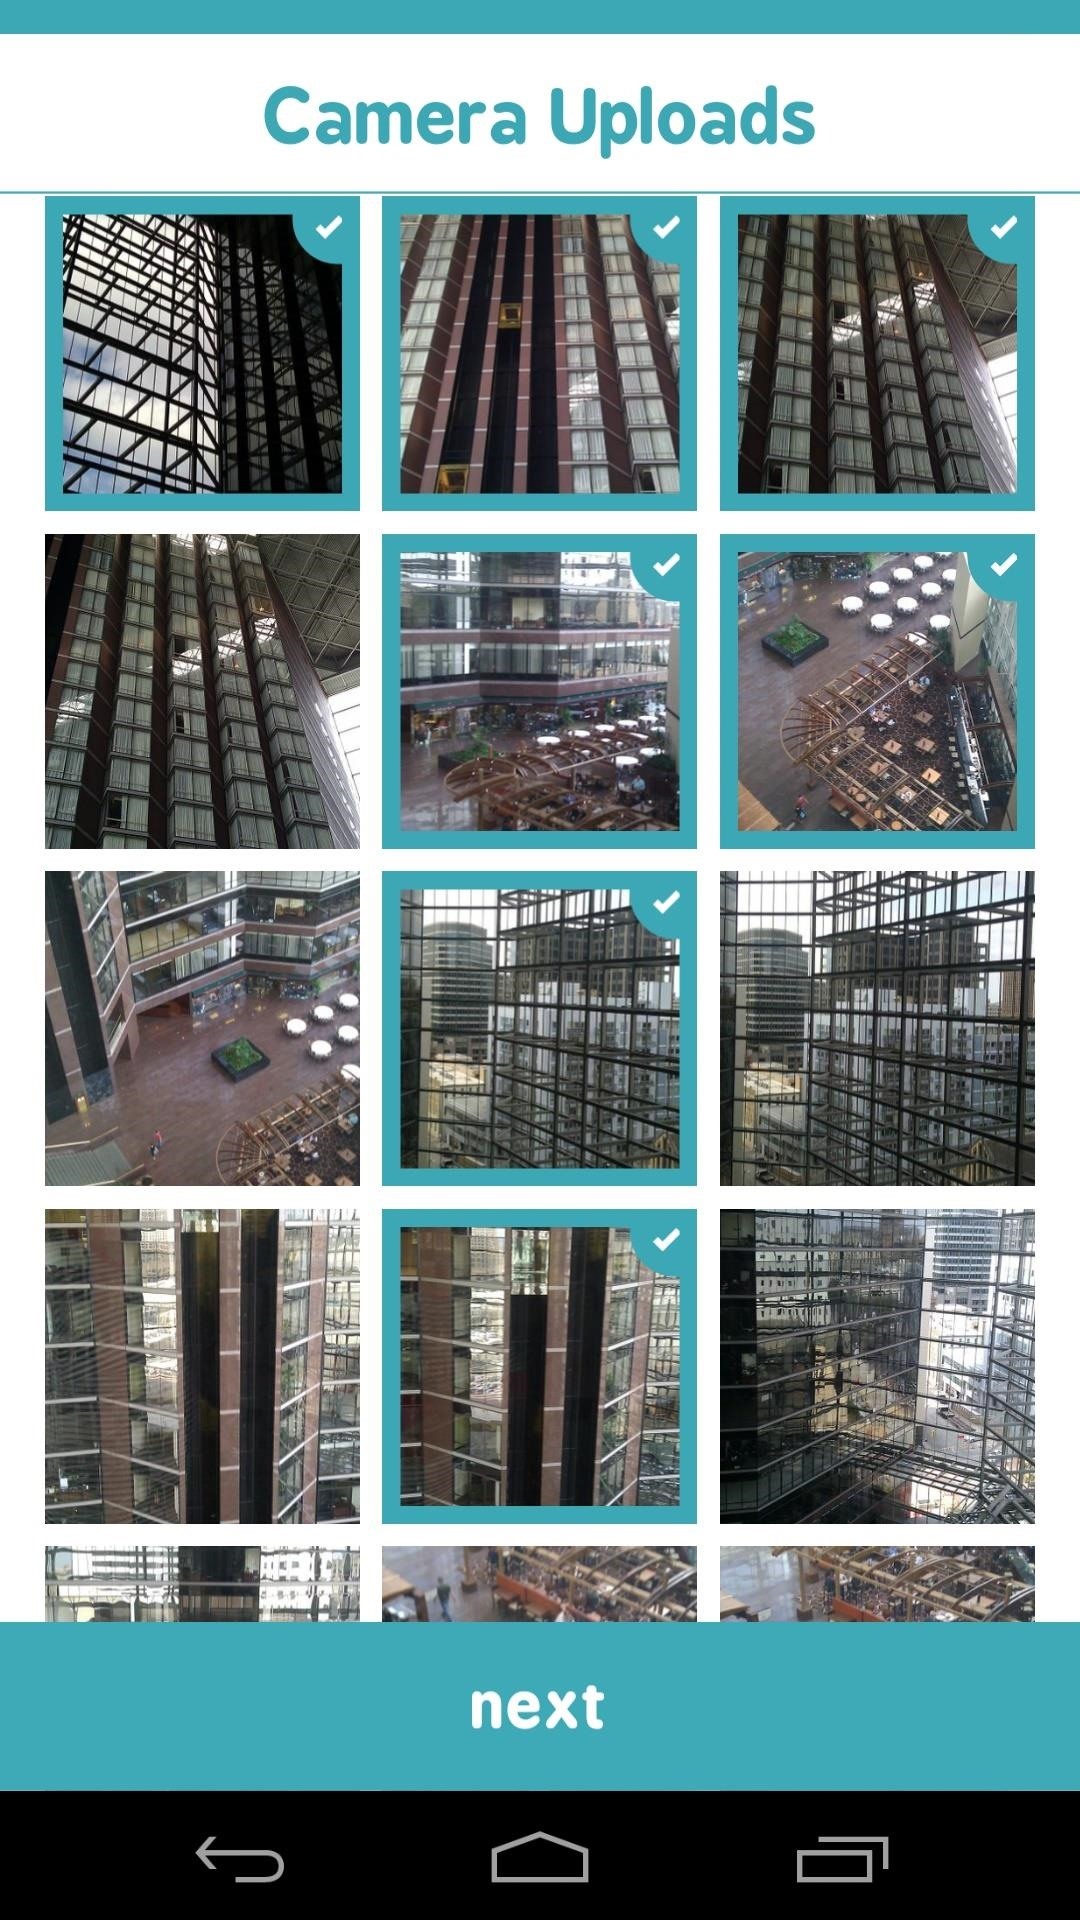
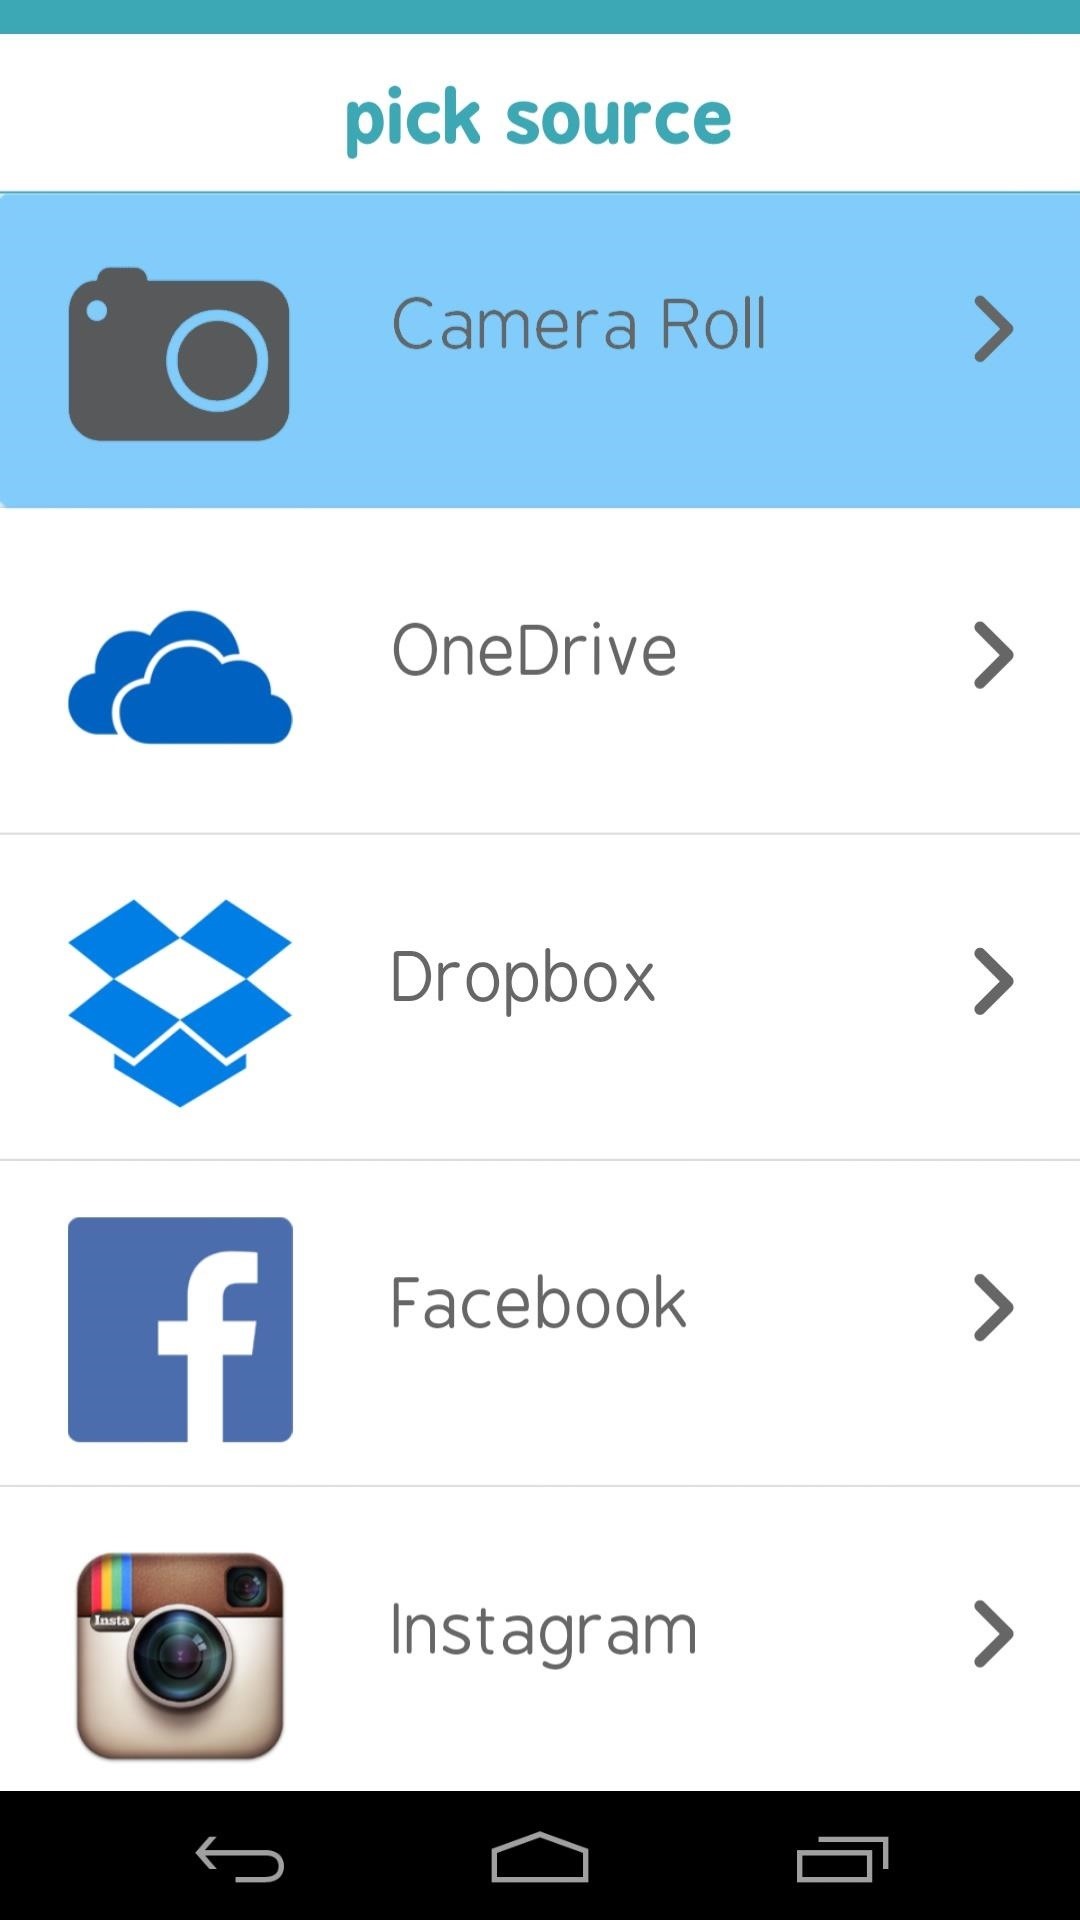
From Xim's main screen, tap Create New to queue up a set of photos that you'd like to share. Photo sources include your Camera Roll/gallery and a handful of cloud services and social media platforms.
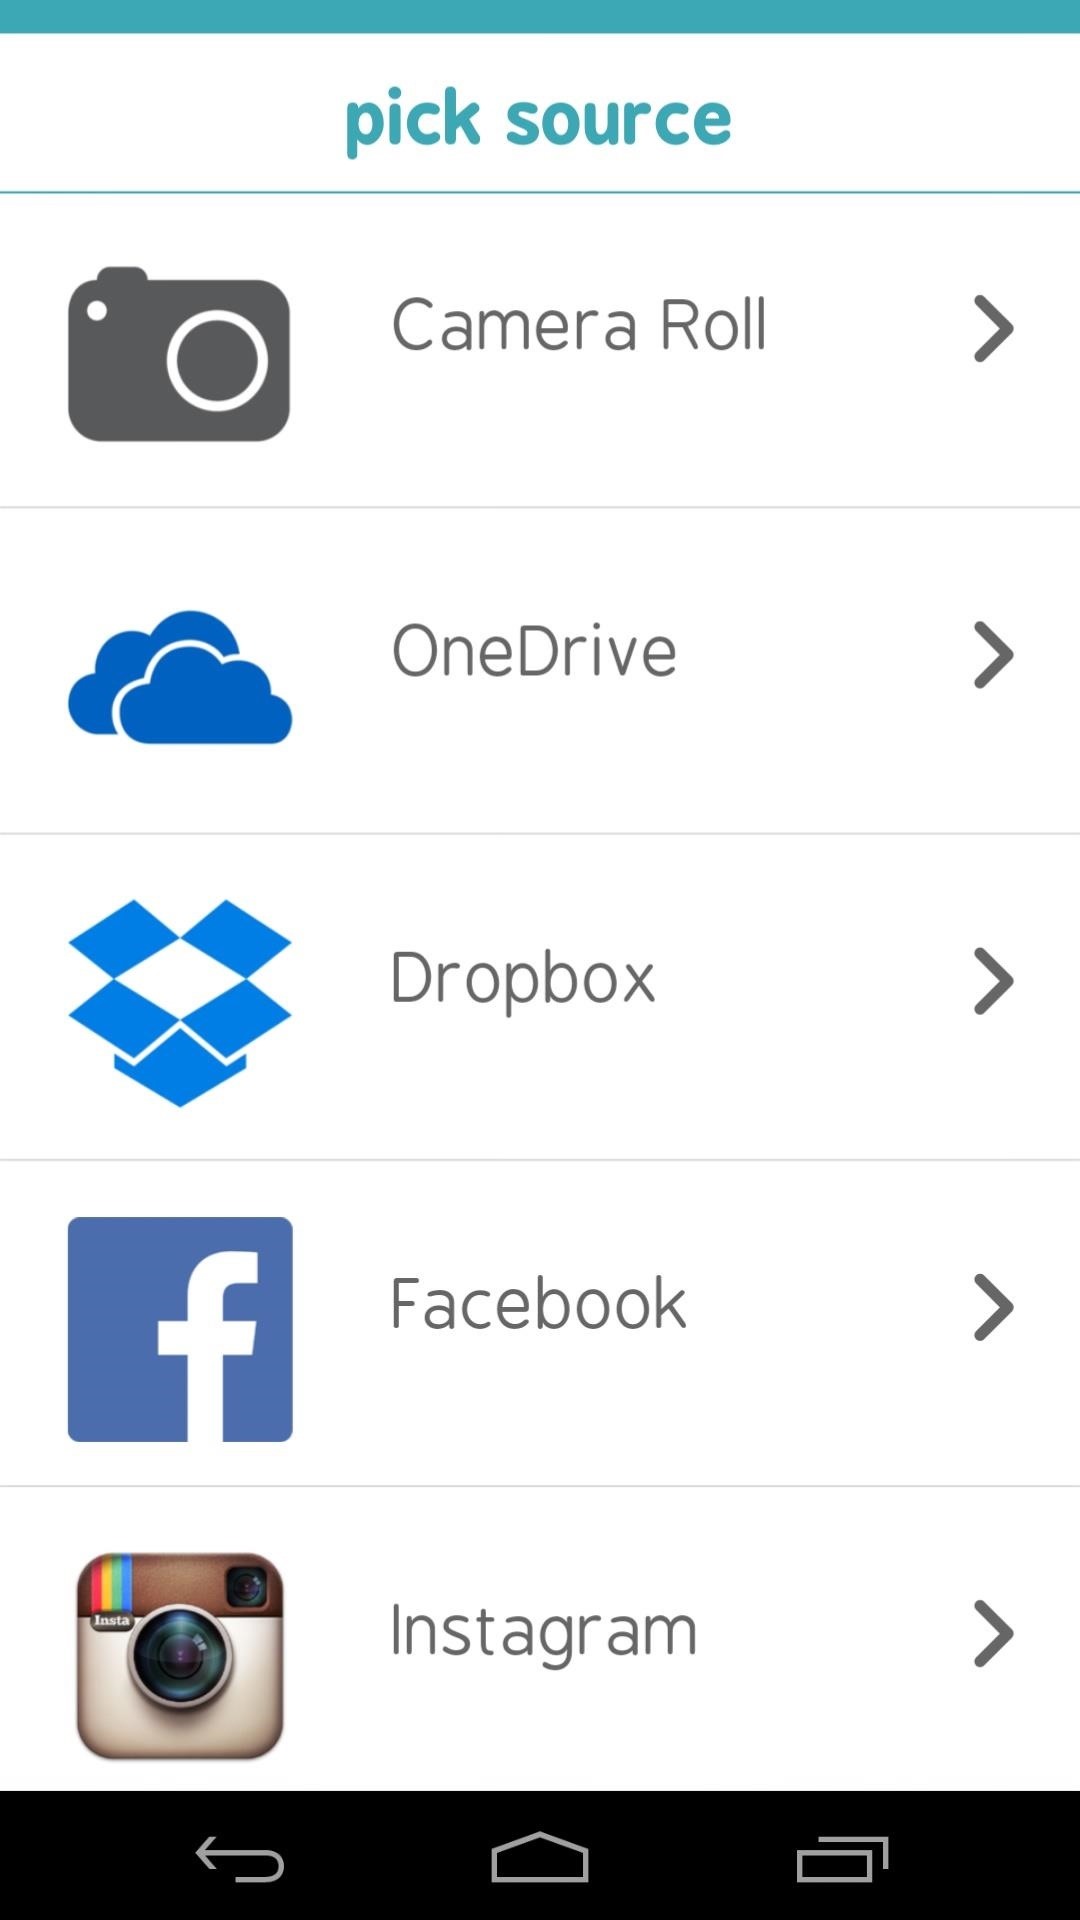
If you opt to share images that you have stored on a web account, you'll have to provide those credentials before proceeding. After that, it's as simple as selecting a group of photos and pressing Next.

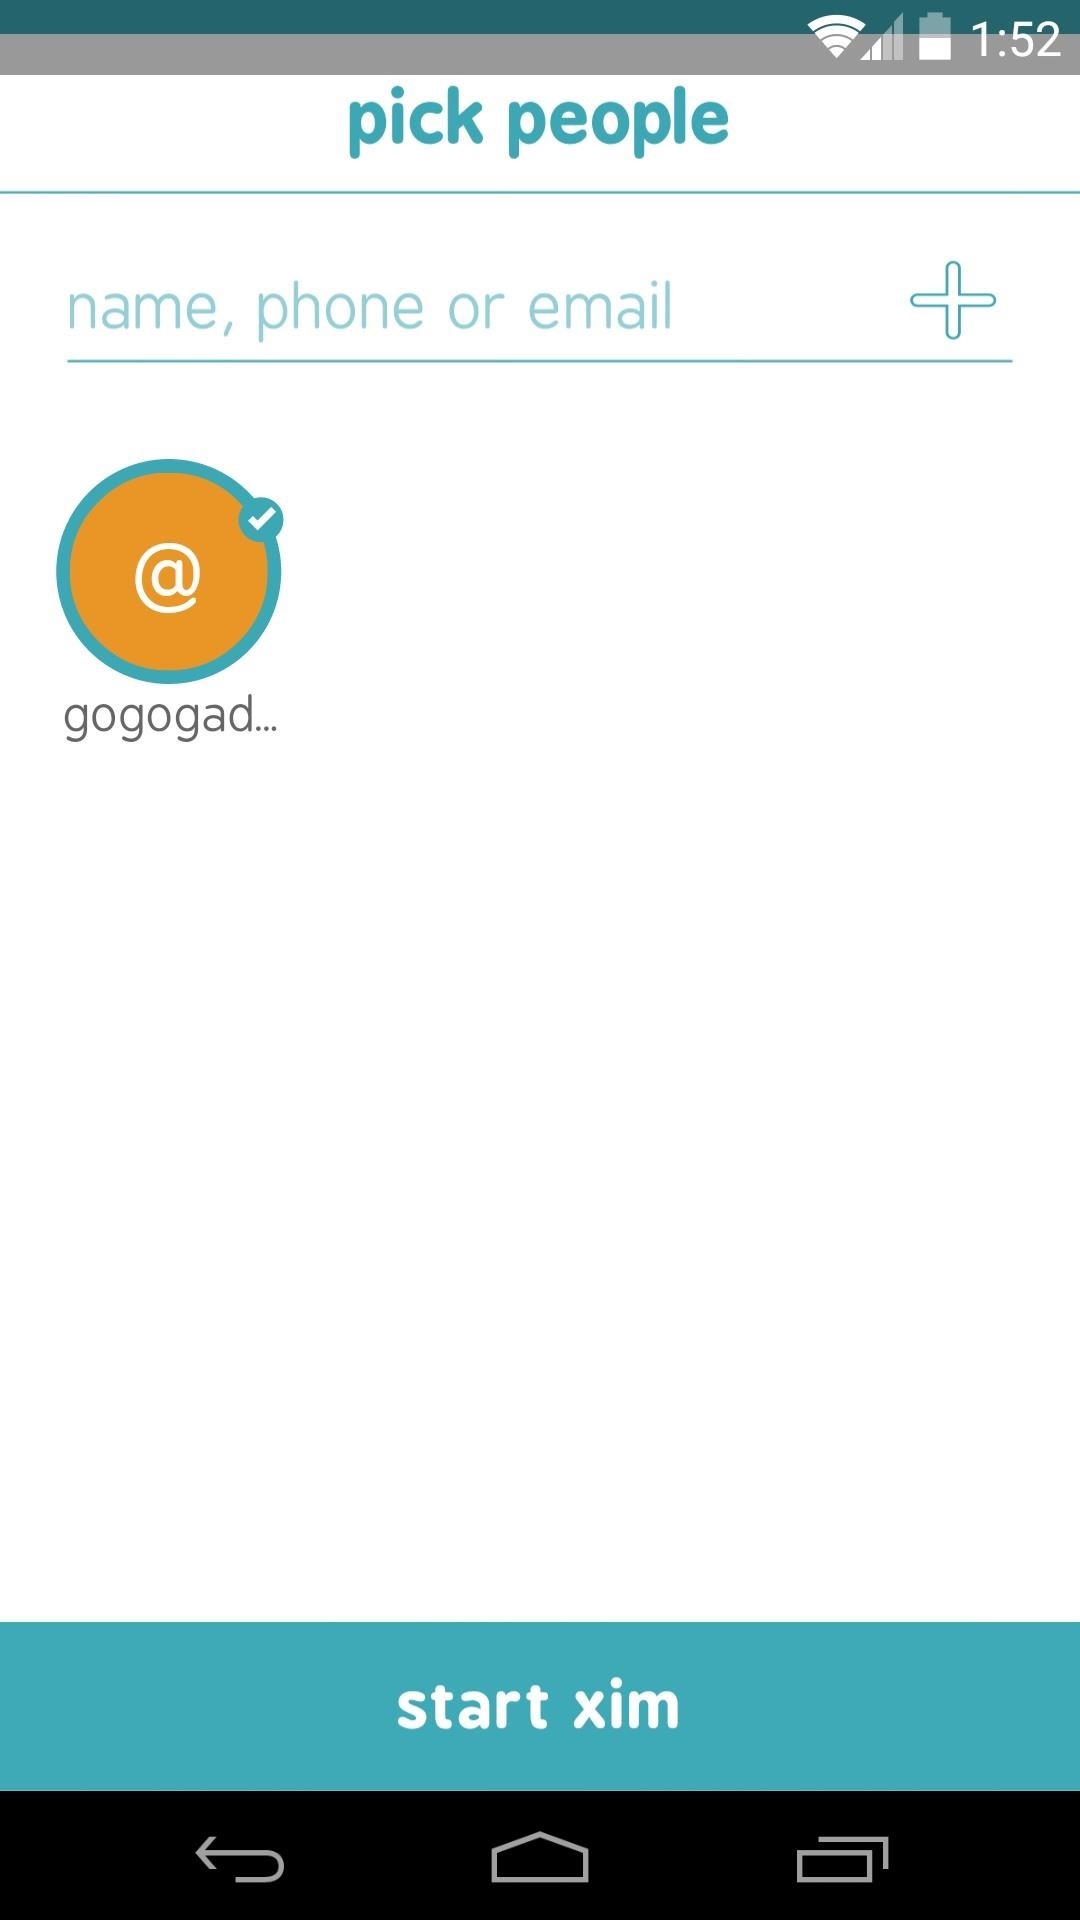
Next, you'll need to pick people that you'd like to share these photos with. You can type in their email addresses, phone numbers, or even contact names. When you have your group all set up, tap Start Xim.

Step 4: Viewing Photos as a Group
None of the other folks in your Xim need to have the app installed on their devices, so set up on their end is as easy as tapping the invitation link you sent them.

As everyone looks through your photos, any swiping and zooming they do is synced across all devices in the Xim. So if one user skips to the next photo, everyone else in the group sees the same view.


Although the app is not required to view photos or even post comments, other users in your group with Xim installed have the extra benefit of being able to add more photos to the slideshow.

You won't have to worry about friends having access to your photos for an extended period of time, as your Xims will be automatically deleted within a couple of days.
Microsoft's goal with Xim was to help you "Share your photos, not your phone," and they've absolutely nailed it here. How easy has Xim made sharing pictures with your friends? Let us know in the comments section below, as well as on Facebook and Twitter.
Just updated your iPhone? You'll find new emoji, enhanced security, podcast transcripts, Apple Cash virtual numbers, and other useful features. There are even new additions hidden within Safari. Find out what's new and changed on your iPhone with the iOS 17.4 update.


Be the First to Comment
Share Your Thoughts