

So you dropped your smartphone and the screen cracked. Again. Just the thought of sending it out for repair or buying a new phone is driving you mad.
But if it's only the glass that is cracked, and you're a DIY-type with experience disassembling and reassembling gadgets, you can replace the glass and salvage your LCD screen with a couple simple tools—and a block of dry ice—courtesy of JerryRigEverything's tutorial.
Warnings
- The methods in this tutorial are advanced, and novices should understand that it is VERY EASY to damage your phone, even if you are careful. Understand that this method could take lots of practice to get the hang of, and that you could damage your screen beyond repair.
- Be sure to handle dry ice only with gloves on. It sounds counter-intuitive, but dry ice is so cold that it can burn you.
- This method will not work on Samsung devices, because of the glue they use.
What You'll Need
- block of dry ice from your local grocery store (not a foam or gel pack)
- gloves for handling the dry ice
- cracked glass smartphone screen, removed from rest of phone
- replacement glass for afterwards (again, make sure it's your model or it won't fit)
- paper card or similar object to help pry glass off
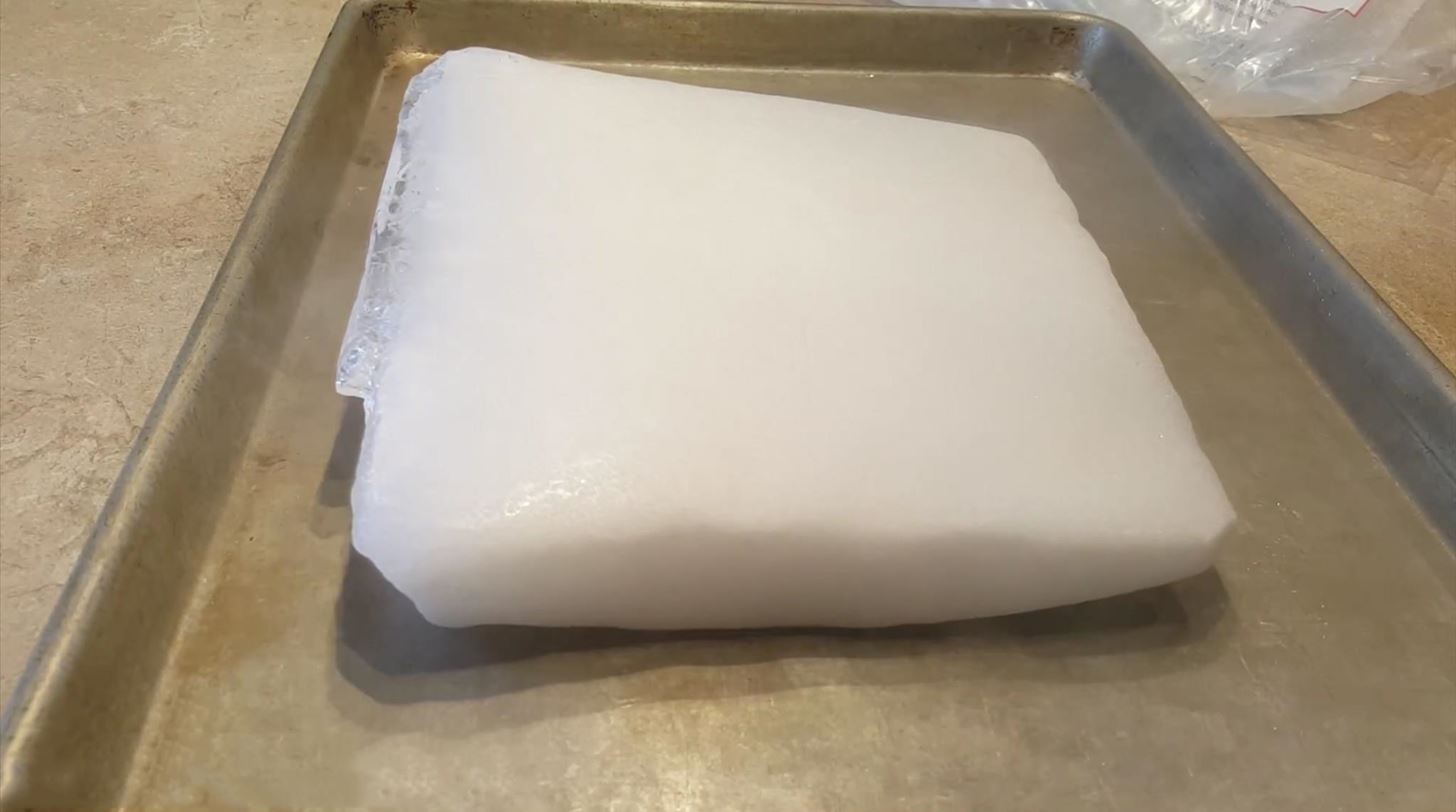
Step 1: Place Screen on Dry Ice
Take the dry ice out of its packaging and place on a safe surface. Take the disassembled phone screen and place it glass-side down on the dry ice.
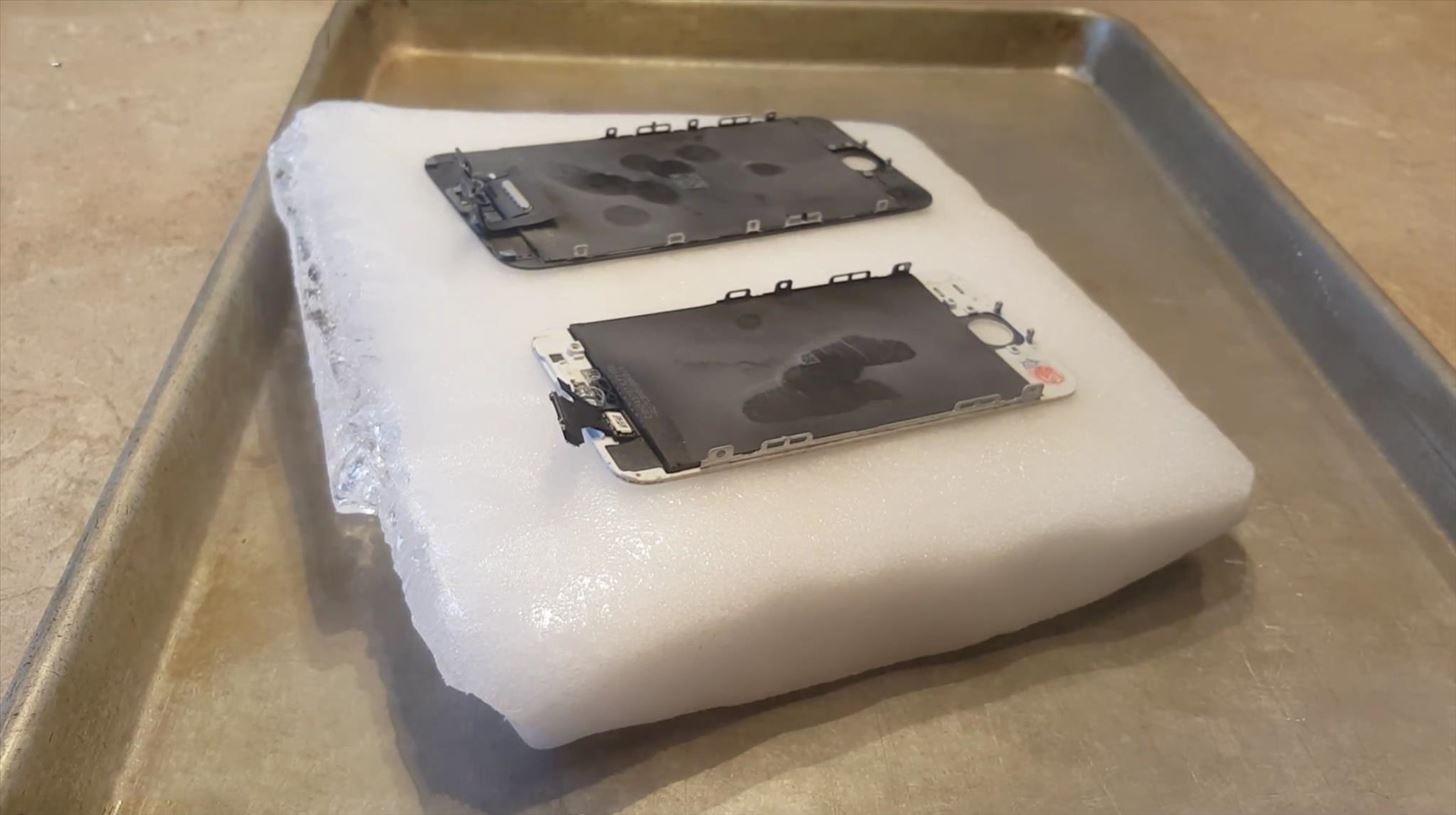
Leave the screen on the dry ice for 5-10 minutes, occasionally using light presses on the back to make sure the whole screen is touching the dry ice. You want the screen to be uniformly cooled before proceeding to the next step.
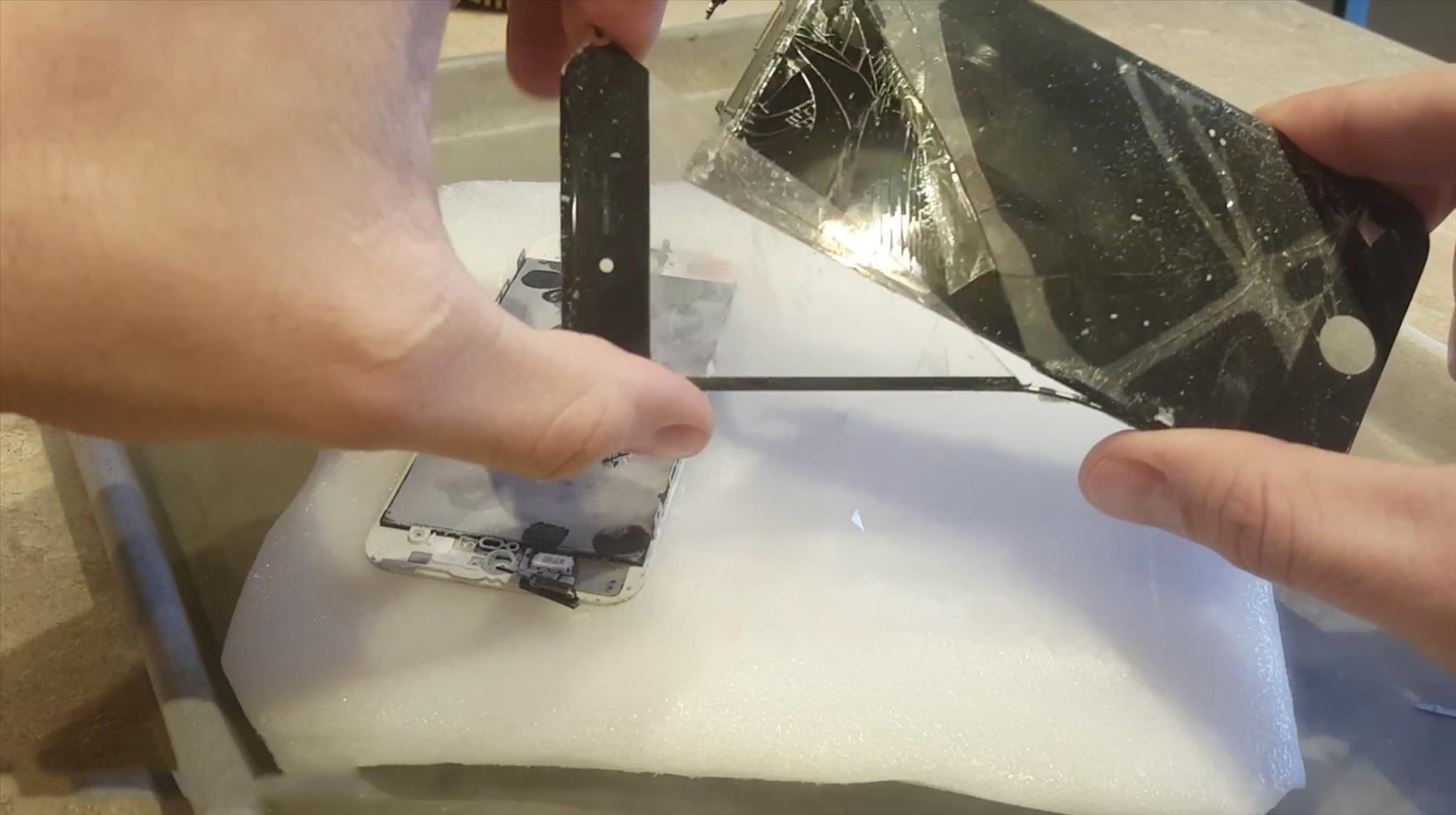
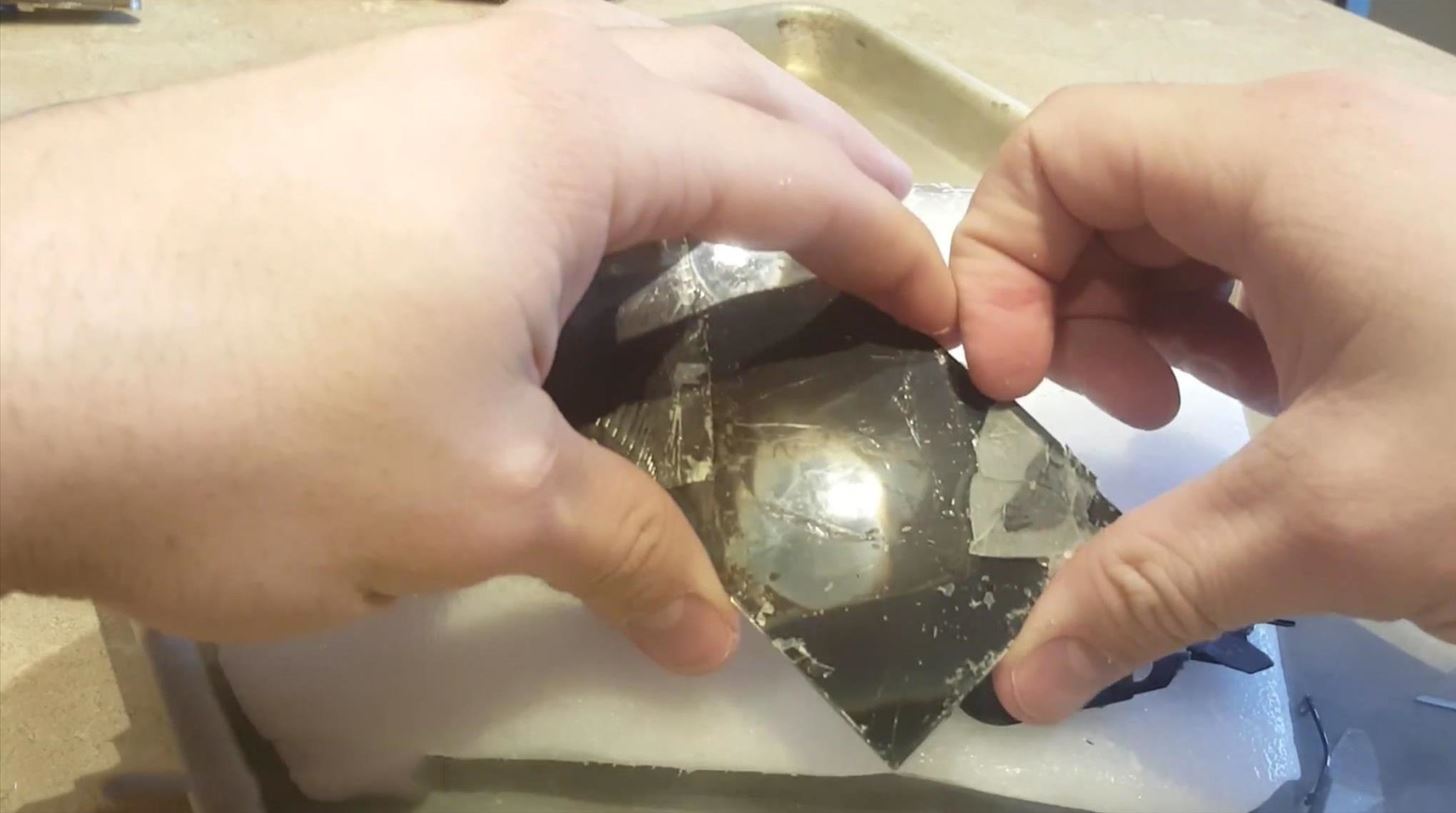
Step 2: Wiggle the Glass Off the LCD
Once the screen is completely frozen, pick it up and very delicately wiggle the glass until you're able to crack part of it off. At this point, the glass will be about as fragile as an eggshell. Again, be extremely careful so you don't wind up damaging the LCD screen underneath.
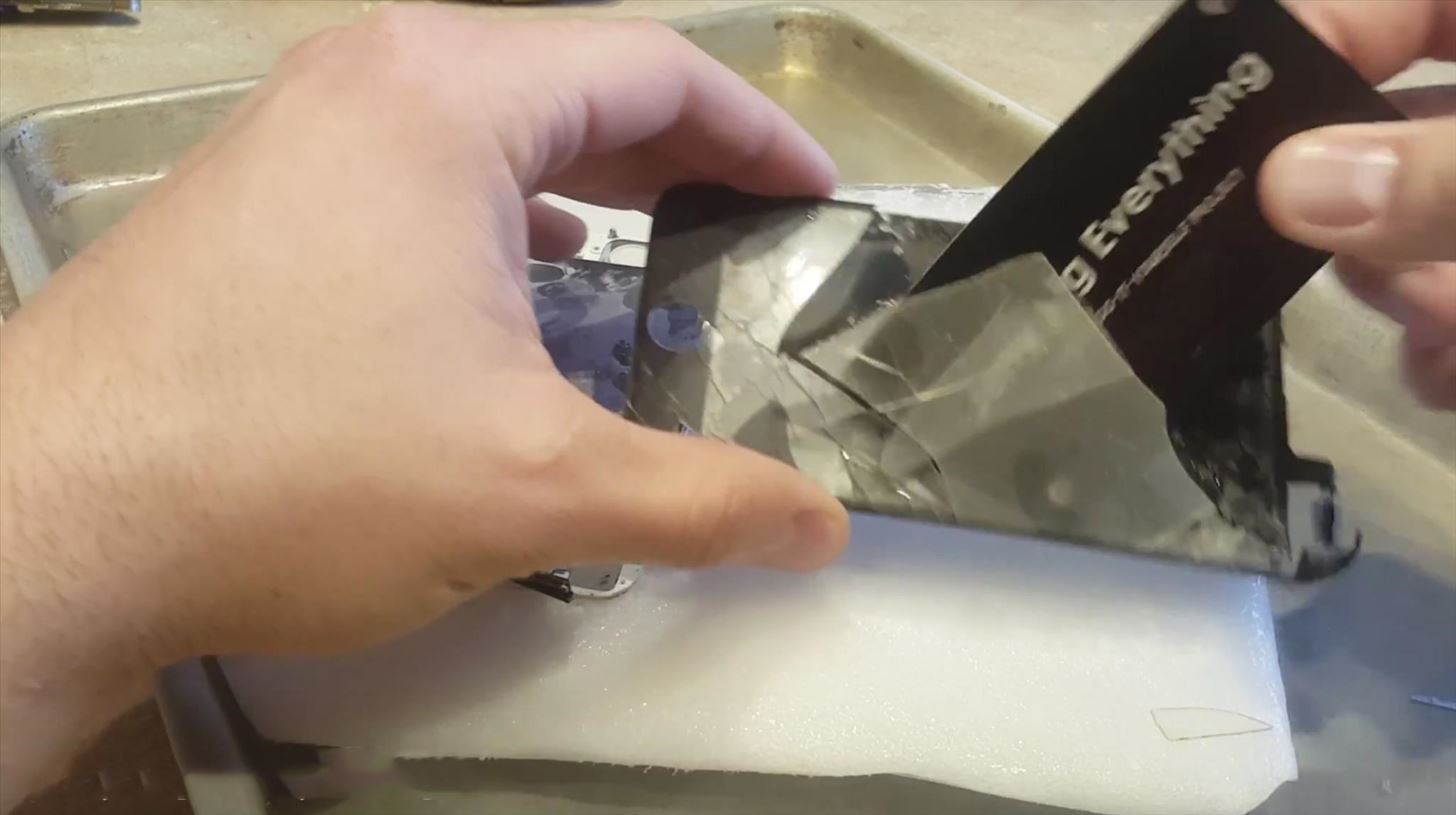
Step 3: Loosen Stuck Pieces with a Card
Once you've got a piece of the screen off, you're going to need a flexible—but not too flimsy—tool to pry off more of the glass. Think something like a playing card or business card.
What you want to do is gently slide the card under the glass so that you can dislodge pieces in the middle that are still a little stuck.
Step 4: Use Your Hands to Get the Rest Off
Once you get most of the big pieces off, you can use your fingers to pick off the tinier bits that are still on there.
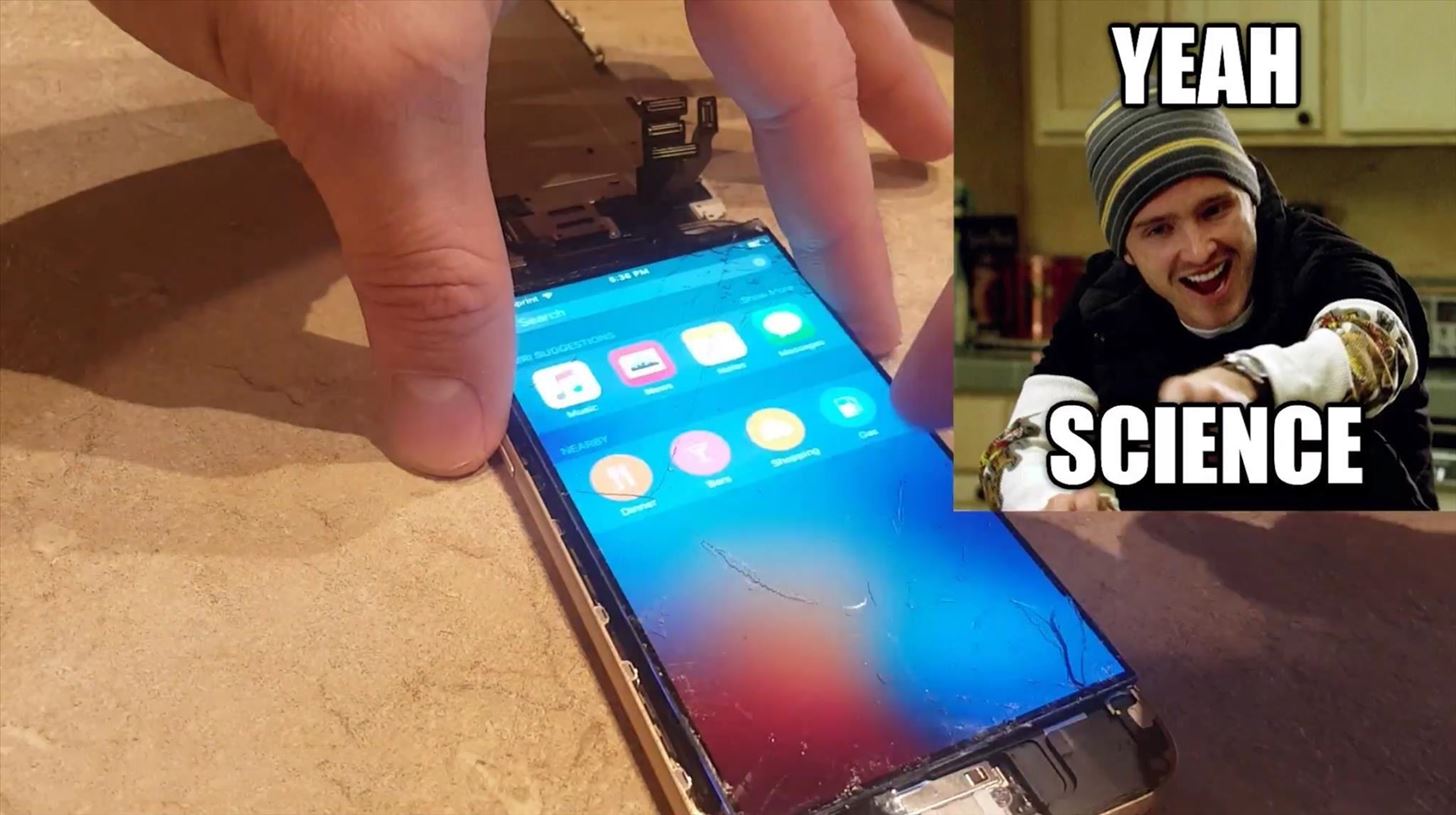
Step 5: Add Your Replacement Glass
And that's it. There will still be glue residue on the LCD screen, but other than that it should be perfectly functional. You'll need to clean off the LCD and glue the replacement glass (again, search for your model) onto it, then reattach that assembly to the phone, but then it should be as good as new.
For more help with this last step, check out JerryRigEverything's followup.
One last time, you run a big risk of doing irreparable damage to your screen using this method, so be careful. If you're interested in trying this, it's a good idea to test it out on an old device that you don't mind damaging.
Since this how-to has been filled with danger and disclaimers, let's end things on a lighter note, with a little dry dry ice humor.

I'm here all week, folks!
Just updated your iPhone? You'll find new emoji, enhanced security, podcast transcripts, Apple Cash virtual numbers, and other useful features. There are even new additions hidden within Safari. Find out what's new and changed on your iPhone with the iOS 17.4 update.


Be the First to Comment
Share Your Thoughts